Different countertop materials have different maintenance and stain removal requirements. Here, find out how to keep your countertops like new, no matter what type they are.

Wood
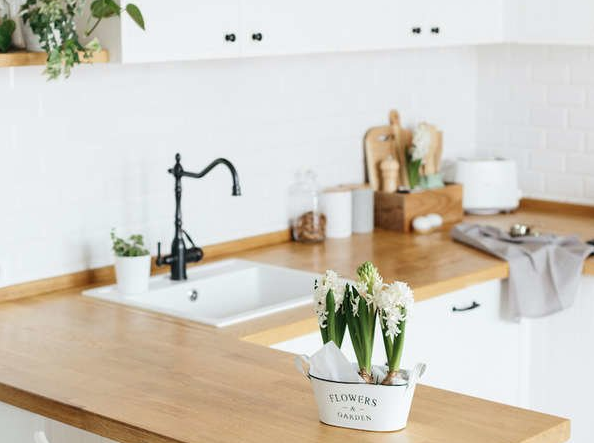
For long-lasting butcher block wood countertops, apply mineral oil monthly. Non-butcher block wood counters do best with marine oil, which keeps the stain fade-resistant. Marks and burns can be sanded out of wood, and stains are easily removable with lemon juice or hydrogen peroxide.

Quartz
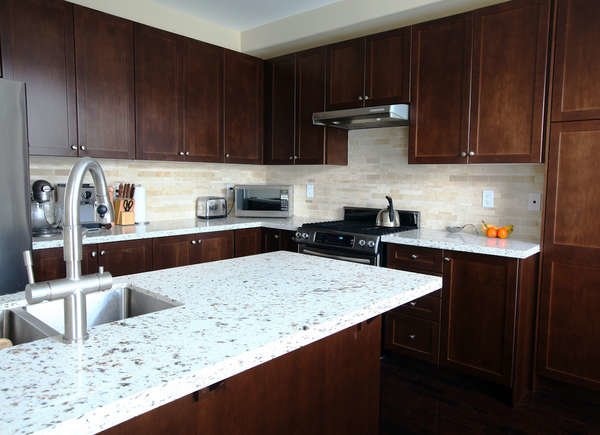
Quartz countertops are heat-, stain-, and scratch-resistant. Also, they are nonporous and do not need to be sealed. If stains do occur, a paste of hydrogen peroxide and flour, applied and left to sit for 24 hours, will lift a spot right out.

Marble
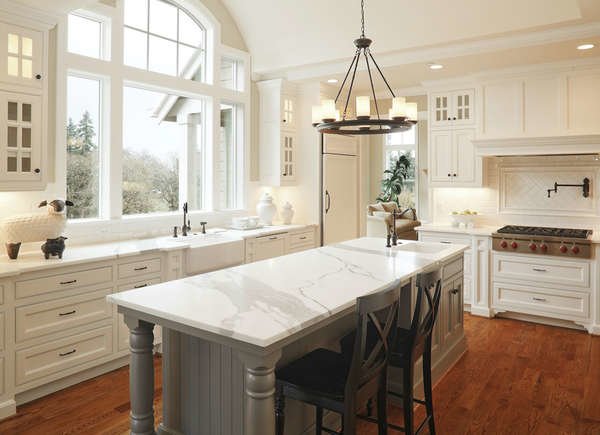
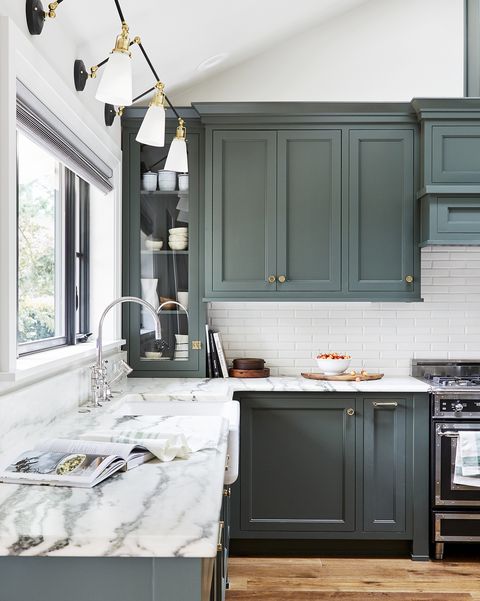
Marble requires higher maintenance than other types of countertops. Naturally porous, the material is susceptible to etching. Chemical corrosion can be buffed out with marble polish. Oil stains can be removed by ammonia, hydrogen peroxide, or mineral spirits. And food stains can be lifted with a water-based paste of baking soda and dish soap.

Soapstone

Naturally nonporous, soapstone does not require sealing. Nicks and scratches are common, adding to the countertop’s rugged patina. Slight discoloration from oil contact can be rubbed out with mineral oil.

Stainless Steel
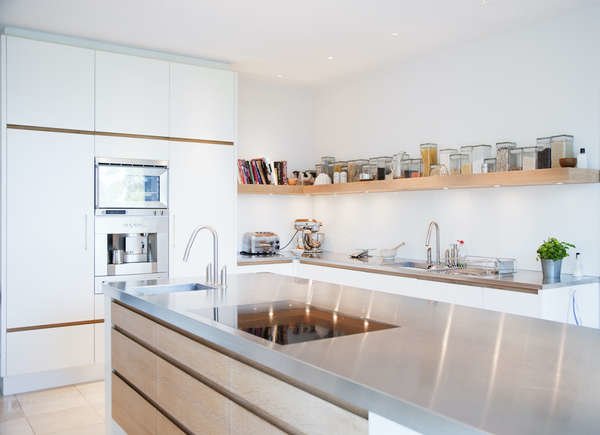
Scratches are inevitable with the surface of stainless steel countertops, but they can be buffed out with an abrasive pad. Prevent rusting by avoiding cast iron pan contact with the counter. Any rust stains that do occur may be eliminated with a paste of lemon juice and baking soda. 

Laminate
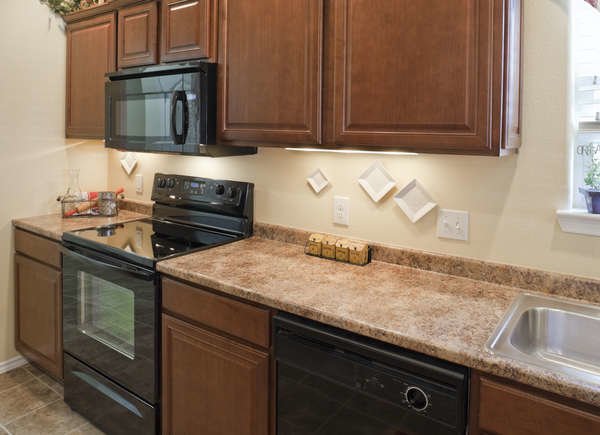
A simple paste of baking soda and water left on a laminate surface for three to five minutes will remove most stains that occur, while difficult stains may be fought using household bleach rubbed in gently with a cotton ball.

Solid Surface
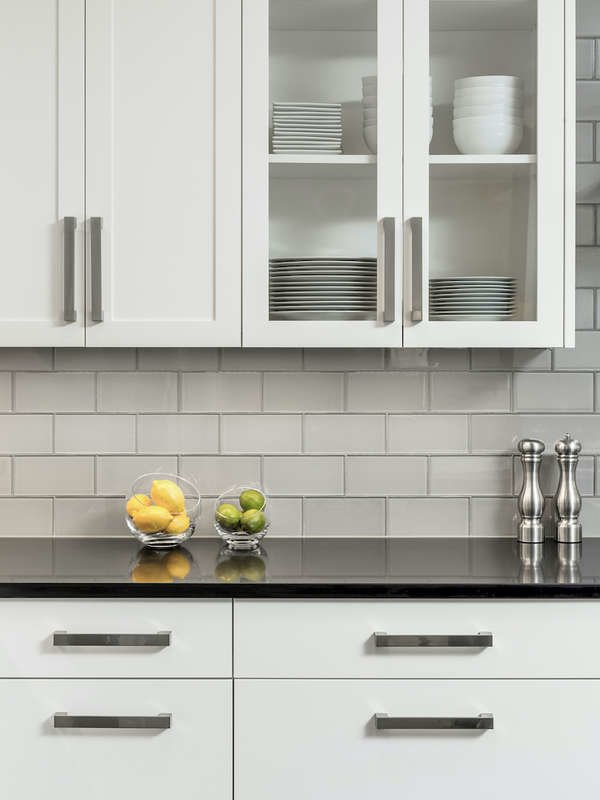
Fine scratches or stains get buffed out of solid surface countertops with a mild abrasive. Though a plastic-like patina may develop on the surface over time, this can easily be removed by a professional.

Concrete
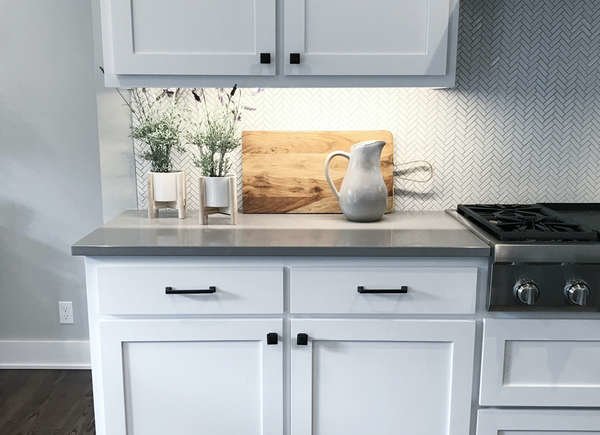
Before installation, your concrete countertops should be specially sealed by the manufacturer to avoid staining. Applying tung oil a few times a year can keep them stain-resistant, and wax can be applied for a glossier look.

Ceramic Tile
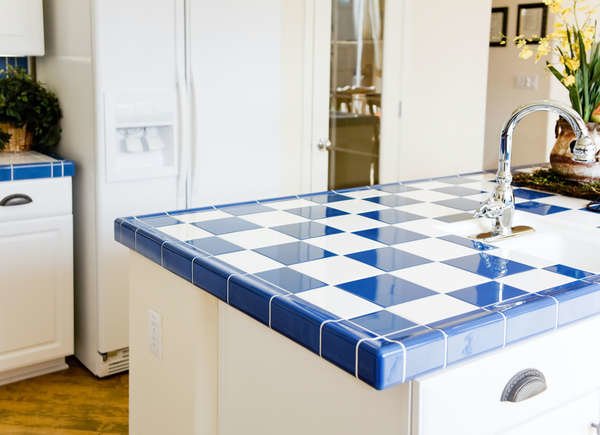
The focus in maintaining ceramic tile countertops is the grout. Clean regularly with a toothbrush and mildew-fighting solution; fight occasional stains with diluted household beach.

Granite
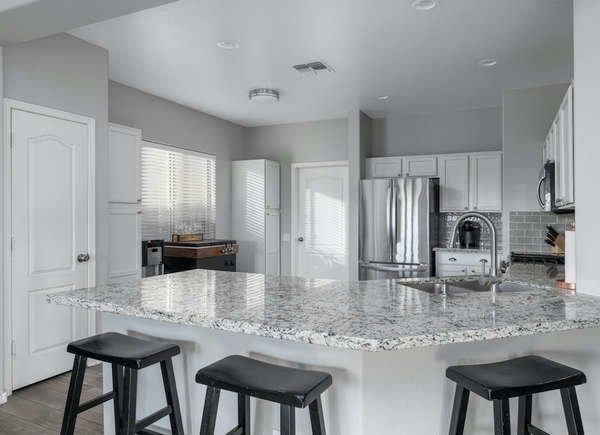
To find out if your granite is adequately sealed, splash some water on the surface. If the water is still beaded up 10 or 15 minutes later, your granite is properly sealed. If the water has absorbed, head to the hardware store; sealing is quick and inexpensive.

Article by Elzy Kolb for BobVila.com
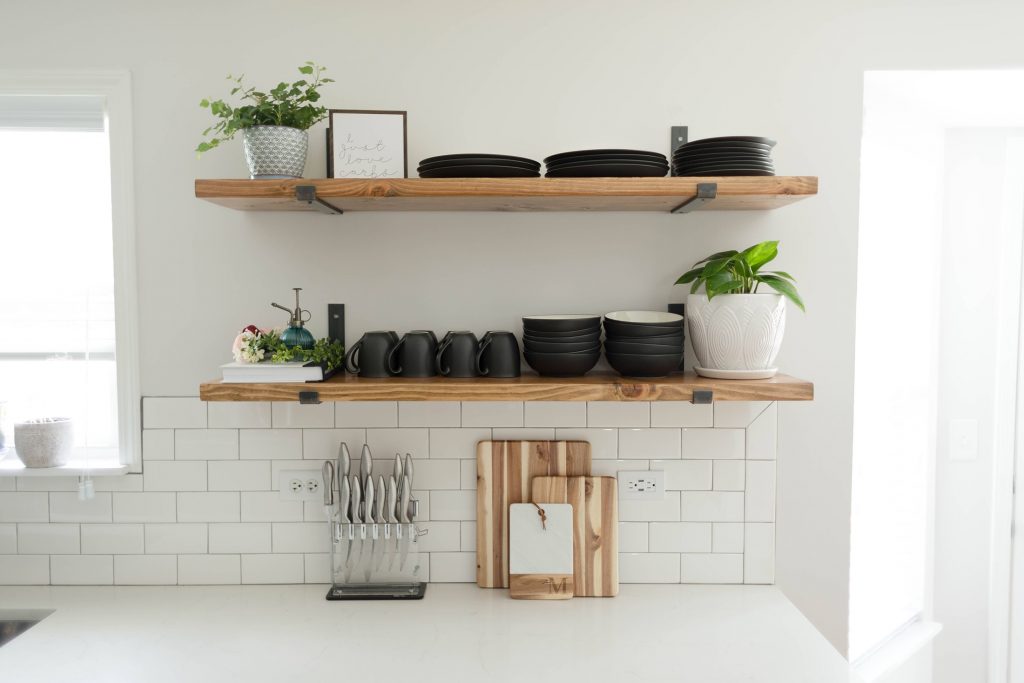
Tackle common home improvement projects and transform often-overlooked spaces with simple and budget-friendly updates. You’ll be surprised at what a big impact these changes can have on the style and function of a room. Try one (or a few) of these affordable mini makeovers to help your home look better and work harder.

1 // Boost Accessible Kitchen Storage

Whether your kitchen is large or small, ample storage is always a selling point. Take advantage of an unclaimed wall or corner space with open shelves to keep dishes, spices, and frequently used cookware within easy reach. If you’re an entertainer, consider mounting a wine rack next to or under upper cabinets.


2 // Embellish the Entrance

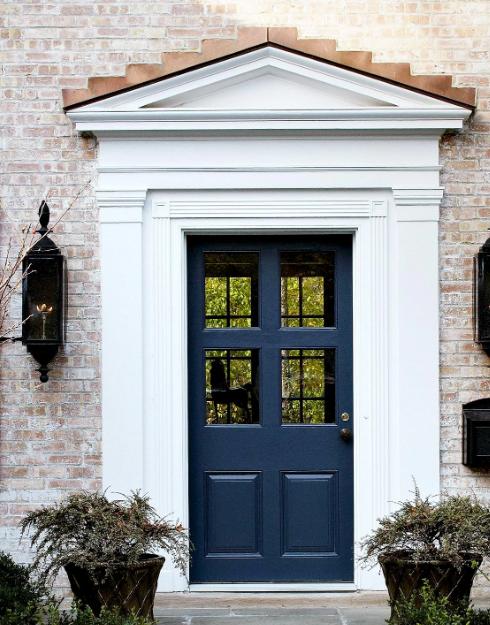
Millwork adds rich character to rooms throughout your home, so why not use it to dress up your curb appeal, too? Pull elements of indoor style outdoors to give your exterior a sophisticated look. Frame your front door with millwork, and paint it to coordinate with your home exterior.


3 // Restore Shine to a Wood Floor

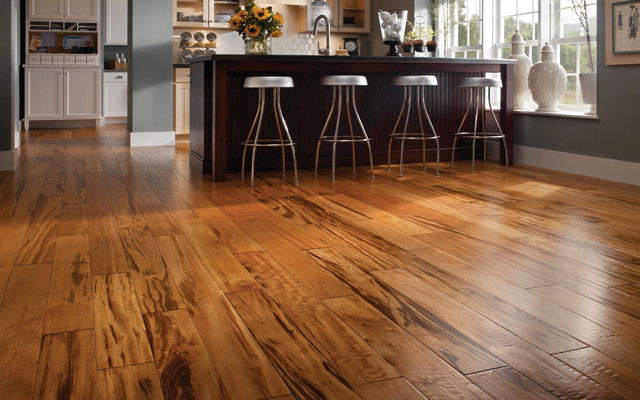
The versatility and warmth of wood are incomparable to other flooring materials, but regular exposure to dirt, dust, and high foot traffic can leave it looking dull and distressed. Restore your floor’s shine factor by polishing with a product that is specifically designed for hardwood floors. A wooden floor should be polished once a year and every four to six months in high-traffic areas of the home.


4 // Give the Fireplace a Facelift

Give a boring brick fireplace a modern makeover with a fresh coat of paint. Before you begin this project, thoroughly clean the fireplace to loosen grime. Apply a stain-blocking primer to the clean fireplace before you paint to help cover any soot stains. Consider a high-gloss paint for a beautiful, contemporary look.


5 // Try a New Hue

With the simple addition of color, you can give your bathroom cabinets a brand new look. All you need are the right tools, a bit of time, and a paint color that inspires you.


6 // Stop Clutter at the Door

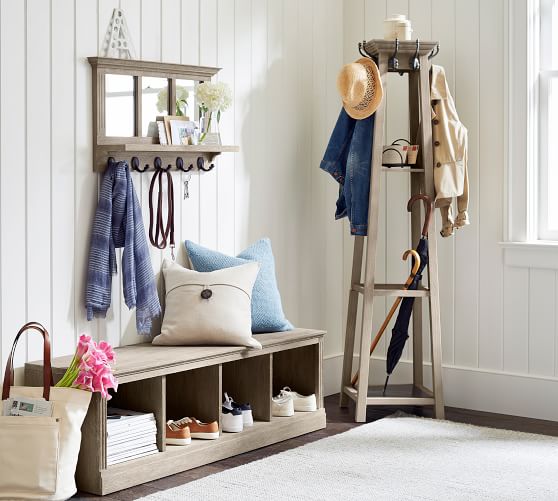
As one of the first rooms guests see, the entryway has a big job to do: make a good first impression and keep drop zone items tidy. Outfit your entryway with added function by creating a do-it-all storage system. Enlist the help of furniture to perform double duty, such as a bench that also acts as a shoe caddy. The right combination of storage solutions (including wall hooks, lockers, and cubbies) will help your entryway stay organized and inviting.


7 // Highlight Your Space with Lighting

Beautiful light fixtures can go a long way in energizing or soothing a space, and smart designs can ease eye-intensive tasks. Successfully light a room by creating layers of light with task, accent, and ambient lighting. An interesting pendant, sconce, or chandelier instantly boosts a room’s sophistication. Here, an industrial fixture not only makes a style statement, but it also provides a targeted light source for the table.


8 // Banish Closet Clutter

One size doesn’t fit all when it comes to how you use your closet storage. Before rushing off to the store for new closet organizers, measure your closet space, take an inventory of what’s being stored, and consider your current and future lifestyle. Once you know for certain what’s supposed to be in there, hit the store and look for ways to maximize your closet capacity. Cut the clutter to make the space work better for both your routine and your stuff.


9 // Add a Sink Filter

An undersink filter gives you clean, great-tasting water without cluttering your sink or countertop space. Even better, you can easily install a water filter without hiring a professional. Before starting your project, make sure the undersink space is large enough to accommodate a water filter system.


10 // Go Modular with Shelving

If space is at a premium in your humble abode, boost a blank wall’s style and storage capacity with a modular shelving unit. Available in all shapes and sizes, they’re sure to fit almost any willing space. Books and display pieces can add colorful interest to open shelves, while cubbies are also a perfect fit for baskets, boxes, and bins for accessible yet out of sight storage.


Article by Kristina McGuirk for Better Homes & Gardens

Time Required: 2-4 hours // Difficulty: Beginner

Learning how to stain a deck will allow you to bring out the rich colors and textures of the wood’s surface. However, applying wood stain does more than enhance a deck’s appearance. Exterior stain helps waterproof a deck and provides vital protection from the elements to keep the lumber from warping. This guide will teach you how to prep your deck for staining and how to stain both the deck boards and railing.

Tools:

  • Pressure Washer
  • Garden Hose
  • Scrub Brush
  • Angle Broom
  • Belt Sander
  • Sandpaper

Materials:

  • Paint Thinner
  • Wood & Deck Stain

1 // Check the Weather & Choose the Stain

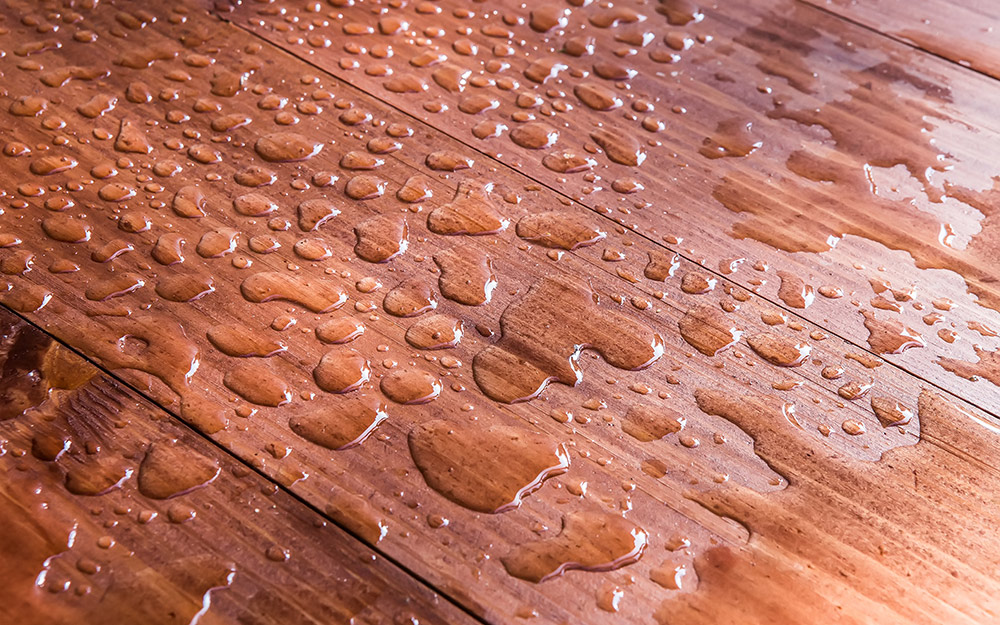
  • Try a simple test to see if your deck repels water or needs staining. Sprinkle water on the wood: if the wood absorbs it within 10-minutes, plan to stain as soon as possible. If the water pools on the wood surface, the need for exterior stain is less urgent. A stained wood deck should be maintained every one to three years. 
  • Learning how to stain a deck begins with scheduling. Unless the deck is entirely new, you’ll need to clean the surface and allow a day to dry before staining. Stain needs time to absorb into the wood but dries quickly, so avoid applying the stain in direct sunlight. Try to schedule your staining project on days forecasted for 50- to 90-degree temperatures with no rain. 
  • Match the stain to your deck’s type of wood. 
  • If your deck has been previously stained, note that oil-based stain can go over water-based stain, but water-based stain cannot go over oil-based stain. For best results, use oil-based stains over old oil-based stain and water-based stains over old water-based stain.
  • Try to find exterior wood stain formulated to repel water, preserve wood and protect against harmful UV rays.

2 // Prepare the Deck

  • Remove all furnishings from the deck. 
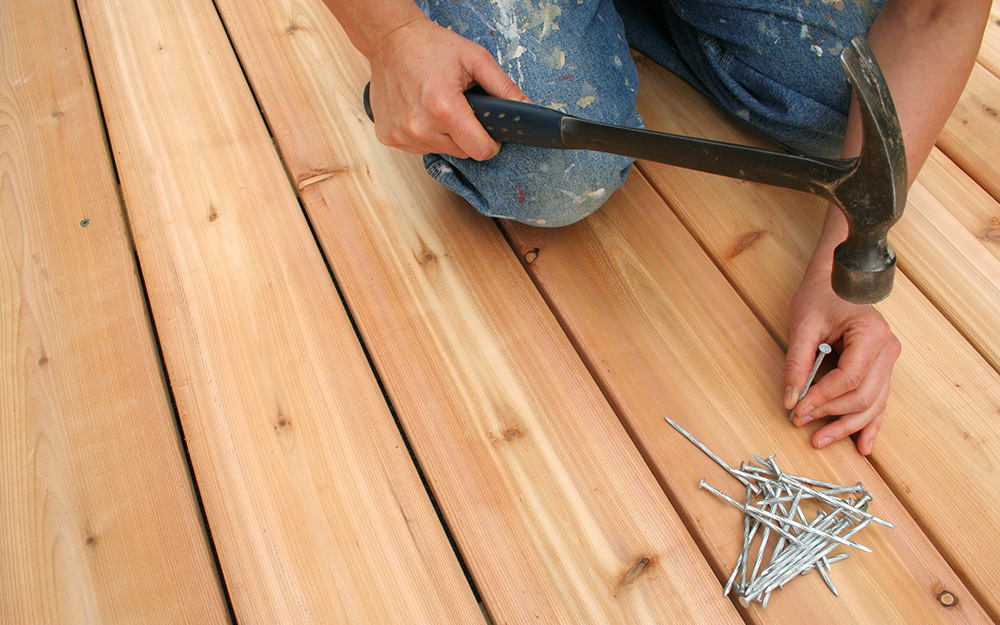
  • Inspect the decking wood, repairing imperfections and replacing missing nails as needed.
  • Sand any splintered areas with 80-grit paper using a belt or pole sander. 
  • Sweep away dust and debris, including between deck boards. 
  • If there are plants alongside the deck, moisten and cover them with a tarp or sheeting to keep chemicals or stain from getting on them.

3 // Wash the Wood

  • You’ll want to clean the deck boards to be free of dirt or mildew before finishing so the wood stain doesn’t trap any imperfections. 
  • Wash the wood with a deck cleaner and scrub the wood surface with a brush while wet. 
  • Allow the wet cleaner to soak into the wood for about 10-minutes or according to the manufacturer’s directions. 
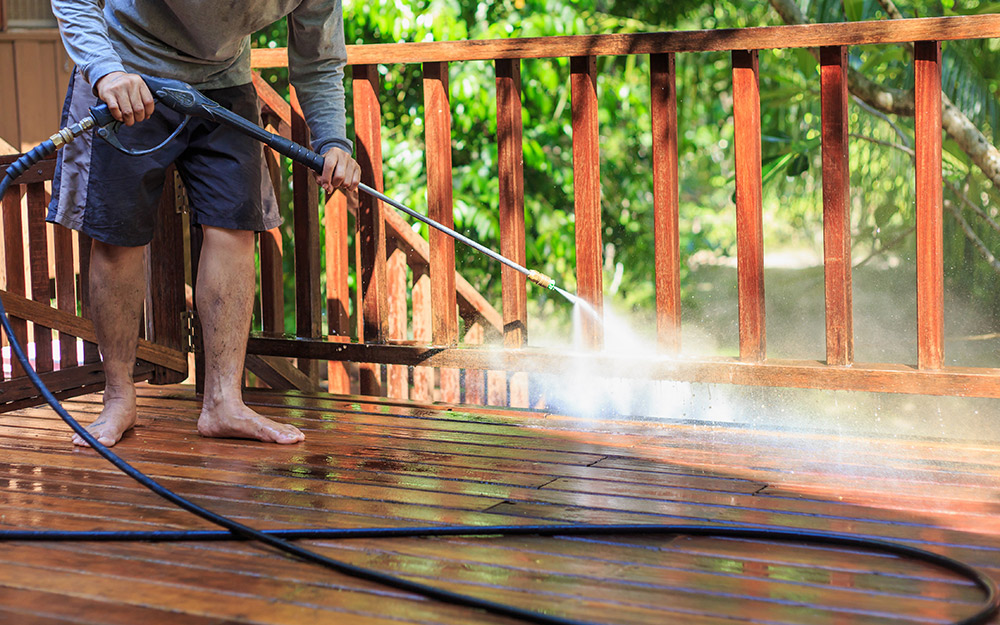
  • Rinse thoroughly with a garden hose or pressure washer. 
  • Allow two days to dry before applying stain. 

4 // Stain Railings & Other Raised Features

  • Before applying the stain, use painter’s tape to protect areas like the house’s siding if needed. 
  • Sweep the deck one more time to remove any leaves, dust or debris that settled when the cleaner was drying. 
  • Stir stain thoroughly before applying and pour into a paint tray.
  • Apply the stain to a test patch of wood to confirm that you’re satisfied with its color and appearance.
  • Begin by staining the deck’s highest wood features, such as the railings, posts and balusters, and make your way down. 
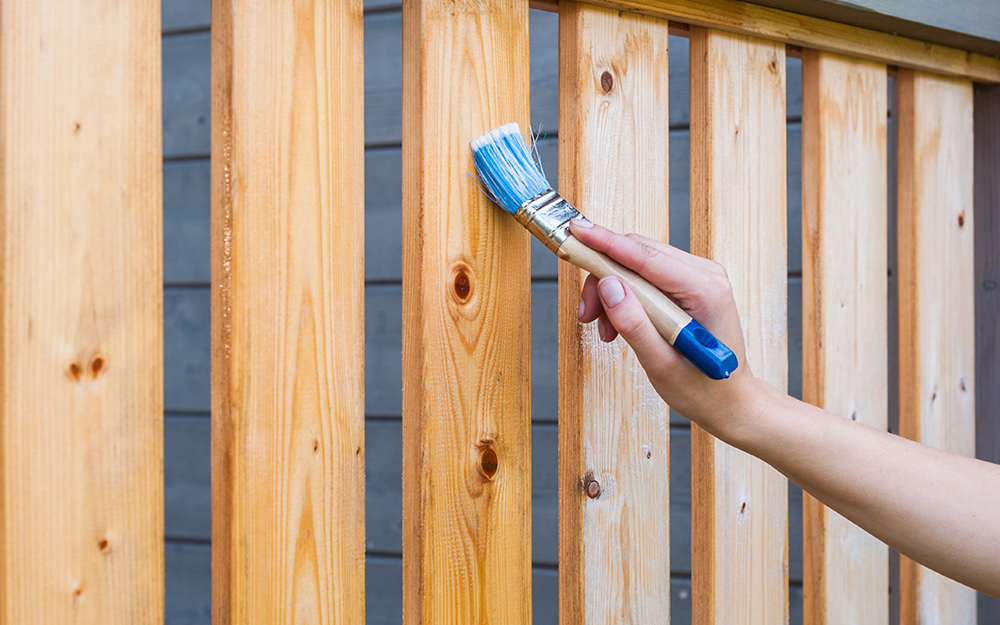
  • Make long, even strokes with a paintbrush.

5 // Stain the Deck Boards

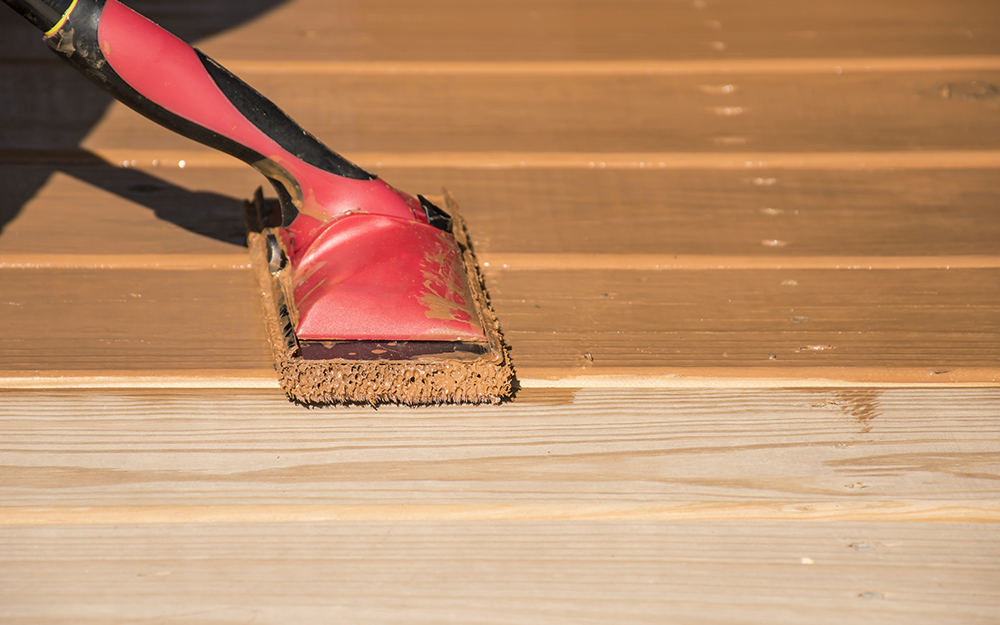
  • Stain the deck boards using a paint pad applicator, which is easier than brushing a large deck by hand and more accurate than using a pressurized sprayer. 
  • Apply one coat of stain in long, even strokes.
  • Use a paintbrush to stain between cracks and in problem areas.
  • Choose the place you want to exit, such as the deck stairs or your home’s back door, and apply the stain while moving in that direction. Usually one coat is enough.
  • Once you’re finished, clean the brushes and paint tray.
  • Allow the stain to dry for at least 24-hours. 

Staining a deck will protect your deck from fading, natural wear and water damage. Make staining easy and get professional results by prepping and cleaning your deck in advance. Once you have learned how to stain a deck, you can refresh its appearance every few years so that your deck stays long-lasting and beautiful. Ready to get the tools and materials you need? The Home Depot delivers online orders when and where you need them. 

Project Guide provided by HomeDepot.com

The satisfaction a seasoned gardener enjoys is the result of patience, time, and experience: trial and error, taking some chances, watching things thrive—and sometimes watching them fail. But a beginning gardener needs a few sure things, plants that are easy to grow and maintain, and that will give them the confidence to move on to greater challenges. Check out these 25 garden gimmes, practically guaranteed to bring lush beauty to the garden with minimal effort.

1 // Coral Bells

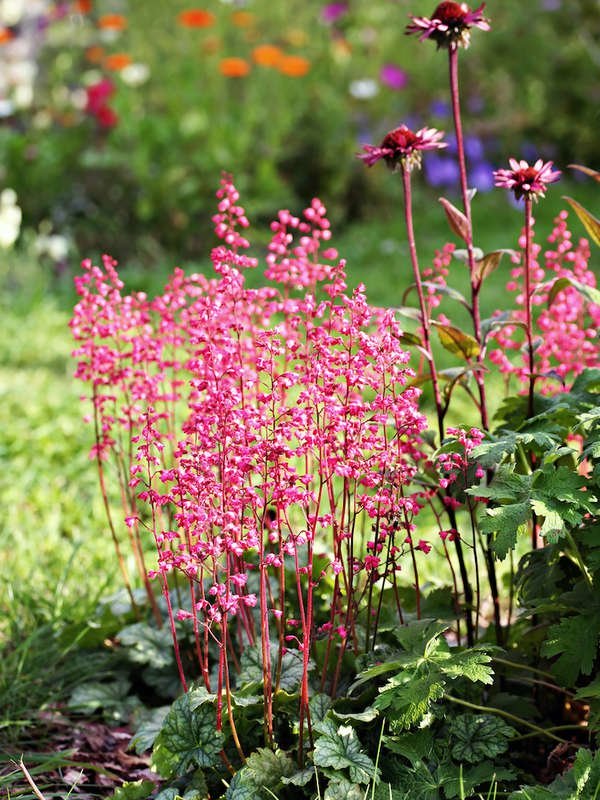
Once established, coral bells require very little maintenance and will return year after year with a mounding party of colorful foliage. The flowers come in reds, greens, yellows, oranges, purples, and even variegated varieties. The plant blooms with small spikes of flowers starting in June, but the leaves will make an impression from early spring through frost. Available at The Home Depot; $16.52.

2 // Marigold

As far as annual flowers go, marigolds offer one of the best bangs for the buck. After you put them in the ground, you can leave them alone and they’ll bloom until fall. Hardy and forgiving, marigolds tolerate most any soil condition and will even rebound after being nicked by the lawnmower. The plants can reseed themselves, so depending on your location, you may find marigolds popping up next spring. If you’re so lucky, dig them up and move them as you see fit to enjoy them for another season. Available on Etsy; $20.95.

3 // Rosemary

Rosemary is a perennial herb that remains evergreen in many climates. Its woody stems and fragrant leaves serve as a complement to many other plants common in landscape designs. Rosemary blooms in early spring and can be pruned all year to provide fresh herbs for your kitchen creations. Available on Amazon; $19.95.

4 // Meadow Sage

This deer-resistant perennial is easy to care for and rewards the beginning gardener with long-blooming deep purple flowers. It’s a favorite of hummingbirds and bees, and will become a favorite of yours, as it comes back year after year. Available on Etsy; $12.99.

5 // Creeping Phlox

Grown easily over rocks and in tough soil conditions, creeping phlox, a perennial, presents a carpet of gorgeous blooms in early spring, just when you’re really craving color in the yard. Flowers come in white, pastels, saturated hues, and even candy stripes. Phlox spreads but is not invasive, ideal for an easy and satisfying ground cover. Available on Amazon; $14.95.

6 // Indian Hawthorn

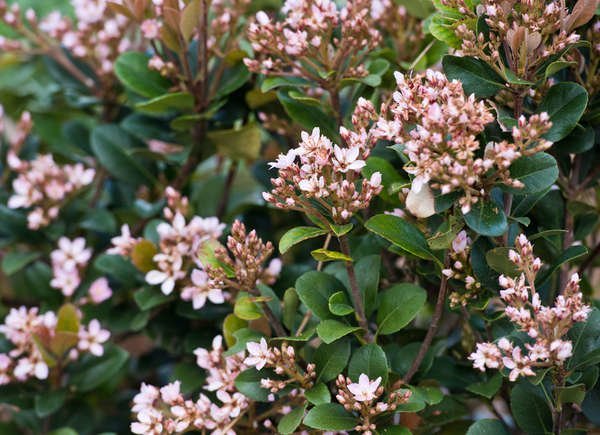
Low, and slow growing, Indian hawthorn is the perfect shrub for sunny spots in your landscape. It has a naturally rounded growing habit, and so needs little pruning. Its attention-grabbing clusters of pink or white blooms, which give way each spring to blue berries that attract birds and other small wildlife. It is evergreen, to boot—meaning it will provide year-round interest to your garden. Available from The Home Depot; $32.98.

7 // Hostas

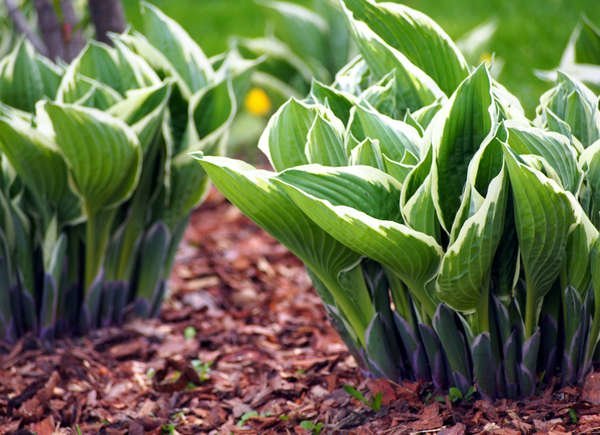
For easy-care groundcover in shaded areas, you can’t beat hostas. Coming in hundreds of varieties from green, to gold, to variegated, there’s one to suit any taste. Relatively disease-free, once established, hostas will grow and continue to come back for years, making these lush beauties are a welcome addition to any garden. Available on Amazon; $27.

8 // Creeping Jenny

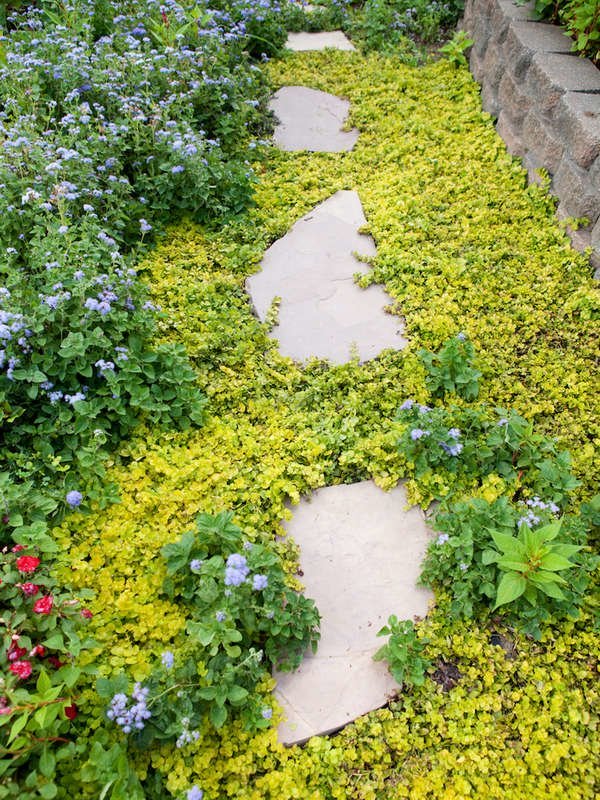
Creeping Jenny is a delightful and hardy ground cover that grows equally well in sun and shade. It will rapidly spread to fill empty areas with a lush carpet of bright green or yellow. Do nothing but enjoy it. It will return year after year in USDA zones 2–10. Available on Etsy; $9.95.

9 // Daffodils

How many new homeowners have moved into a house, neglected the yard while settling in, and been treated to surprise bulb plants in spring. Daffodils are a cheerful herald of spring and can do well even if you neglect them. Deer- and rodent-resistant, bulb plants need occasional watering during the growing season and can be neglected during periods of dormancy. Resist the urge to cut back foliage when blooms fade, as this can weaken the bulb. Instead, pull or prune leaves at the end of the season after they have turned dried and brown. To increase the vibrancy of the flowers, you can treat seasonally with bonemeal, but even if you don’t, these flowers will continue to return each year. Available on Etsy; $10.

10 // Peppermint

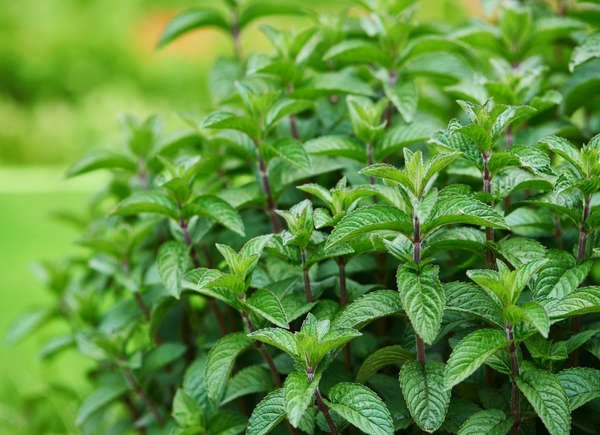
Nothing endures like mint, even when you’d like to banish it from the backyard. This culinary herb can come back from almost anything, including an accidental shot of herbicide. If you aren’t planning on turning your yard into a mint farm, you may want to grow it in a container. If you do, know that any plant grown in a container will need more frequent watering than if you plant it directly in the ground. Available at The Home Depot; $21.59.

Find the full list of 25 at BobVila.com

16 Room Dividers to Conquer Any Space

Fantasies of having a home office and walk-in-closet can be crushed by the cramped realities of apartment living. But, don’t give up! You can keep that spare room dream alive if you learn to harness the power ofContinue reading

Not every home’s a fixer-upper, but all houses need occasional repairs and maintenance. You’ll be able to handle those jobs like a pro if you make sure you haveContinue reading

5 Trending Home Exterior Colors for 2020

One of the biggest impact details a homeowner can pay attention to is the visual exterior of their home. Curb appeal plays a huge role in a home’s value, identity, and community integration – not to mention a pivotal factor in maintaining the type ofContinue reading

© 2024 Home Restoration & Construction | Paducah KY | Triple J Enterprises